Getting started: Deep Learning with Fast.ai and Github Codespaces
Getting started with deep learning using Fast.ai and setting up your environment in Github Codespaces.

A few weeks ago, I decided I wanted to go deeper on how Deep Learning works and start tinkering with some models myself. In this post I’m going to cover how I got started on my Deep journey with Fastai and Github Codespaces. Contrary to what I thought, I didn’t need a powerful GPU to get started. All I needed was a computer with an internet connection. In fact, I’ve been using an iPad Pro exclusively for hacking! I was also worried I would have to brush up on the Linear Algebra I learnt in college which wasn’t the case. All the math is very straightforward and if you ever get stuck there’s lots of great resources to help you out.
Before we get started, don’t forget to subscribe if you want to receive weekly content for builders, founders and Product Managers new to AI.
Fast.ai
My favorite of all the resources I’ve come across so far is fast.ai (hat tip to @Suhail for the recommendation). FastAI has a free online course Practical Deep Learning, and set of Deep Learning libraries that enable you to get started with building and training models in just a few hours.
FastAI is super approachable:
The whole course is available for free on Youtube
The accompanying book is available for free on Github (though I ended up buying the paperback version on Amazon for ease of reference)
There’s a dedicated online forum for students who have done the course which is full of useful advice as it’s been running for a few years now
It’s updated every year with new content!
They just released a follow-up course specifically geared towards Generative AI and Stable Diffusion.
All of the Notebooks1 for Fastai are available to play with yourself and use online on Kaggle2 and Google Colab3. You can also clone the Github repository of all the notebooks in the course if you want to run it locally or on a different cloud provider (more on this later).
I’ve been taking it pretty slow and working through the first three chapters over the last month and I found it most helpful to watch the video once, read the corresponding chapter in the book and then watch the video again but this time going through the notebook too. This is what Jeremy, the course instructor recommends doing too.
The area where I ended up getting a little frustrated was that I didn’t really like either Kaggle or Google Colab for running the notebooks as they have their own proprietary interfaces and were limited compared to running notebooks in a local development environment. This probably won’t bother most people but having coded in Python before I really wanted to use a full developer environment and IDE4. Of course because I was using an iPad running code locally was not really an option. After doing some research and again following @Suhail’s recommendation, I found Github Codespaces5 with a GPU6 instance to be a good solution.
Setting up Github Codespaces with Fastai
A word of warning: Codespaces can be challenging if you don’t have a technical background so proceed with caution. It took me a while to setup up the environment and all the dependencies which you don’t have to do free with Kaggle and Google. I decided to setup Codespaces because I wanted to use VSCode which I much preferred as an interface, and you can explore and work with the whole Github repository in one place as well as hacking on your notebooks and prototyping ideas. If you to want to setup a Codespace w/ GPU you can apply to join the beta here. I ended up DM’ing @LostInTangent, a Github engineer who was kind enough to grant me access.
Once I got access to Codespaces w/ GPU I then did the following to create the Codespace:
Fork the Fastai course Github repository
Click <> Code and select “Codespaces” then “…” and “+ New with options…”
Make sure the region is “US West” and the Machine type is “6-core (1 GPU)” and click “Create codespace”.
Voila, you now have a Codespace… but it’s not going to work just yet because you need to customize the development environment for fastai. This was the tricky bit that took me a while to figure out, but now that I have, you are going to save a bunch of time!
Here’s how I got the environment working:
Click Shift+CMD+X to open the Extensions library and install the Python and Jupyter extensions.
You need to add a Devcontainer to the Codespace, which is what defines the dependencies and other properties of the development environment. To do this type CMD+Shift+P to bring up the shortcut menu.
Type “Add Dev Container” and select “Codespaces: Add Dev Container Configuration Files…”
Select “Python 3” because we’re going to be using a Python environment and the select “3.10” and in addition select “Conda, Mamba (Miniforge)”. This will make more sense as you get to later chapters of Fastai.
You will then need to make sure you increase the shared memory size in the Codespace instance by adding “
"runArgs": ["--shm-size=1g"]”to your devcontainer.json file. It should then look like this:// For format details, see https://aka.ms/devcontainer.json. For config options, see the // README at: https://github.com/devcontainers/templates/tree/main/src/python { "name": "Python 3", // Or use a Dockerfile or Docker Compose file. More info: https://containers.dev/guide/dockerfile "image": "mcr.microsoft.com/devcontainers/python:0-3.11", "features": { "ghcr.io/rocker-org/devcontainer-features/miniforge:1": {} }, "runArgs": ["--shm-size=1g"] // Features to add to the dev container. More info: https://containers.dev/features. // "features": {}, // Use 'forwardPorts' to make a list of ports inside the container available locally. // "forwardPorts": [], // Use 'postCreateCommand' to run commands after the container is created. // "postCreateCommand": "pip3 install --user -r requirements.txt", // Configure tool-specific properties. // "customizations": {}, // Uncomment to connect as root instead. More info: https://aka.ms/dev-containers-non-root. // "remoteUser": "root" }Now type CMD+Shift+P and then “Rebuild Container”. Your container environment should now be rebuilt with much more shared memory so you won’t hit any issues when training models.
Open the terminal at the bottom of the Codespace and run the following command which will enable your notebook to run interactively:
conda install -n base ipykernel --update-deps --force-reinstallOpen the first Fastai course notebook and make sure you pick the `base` Python environment in the top left corner of Codespaces when prompted.
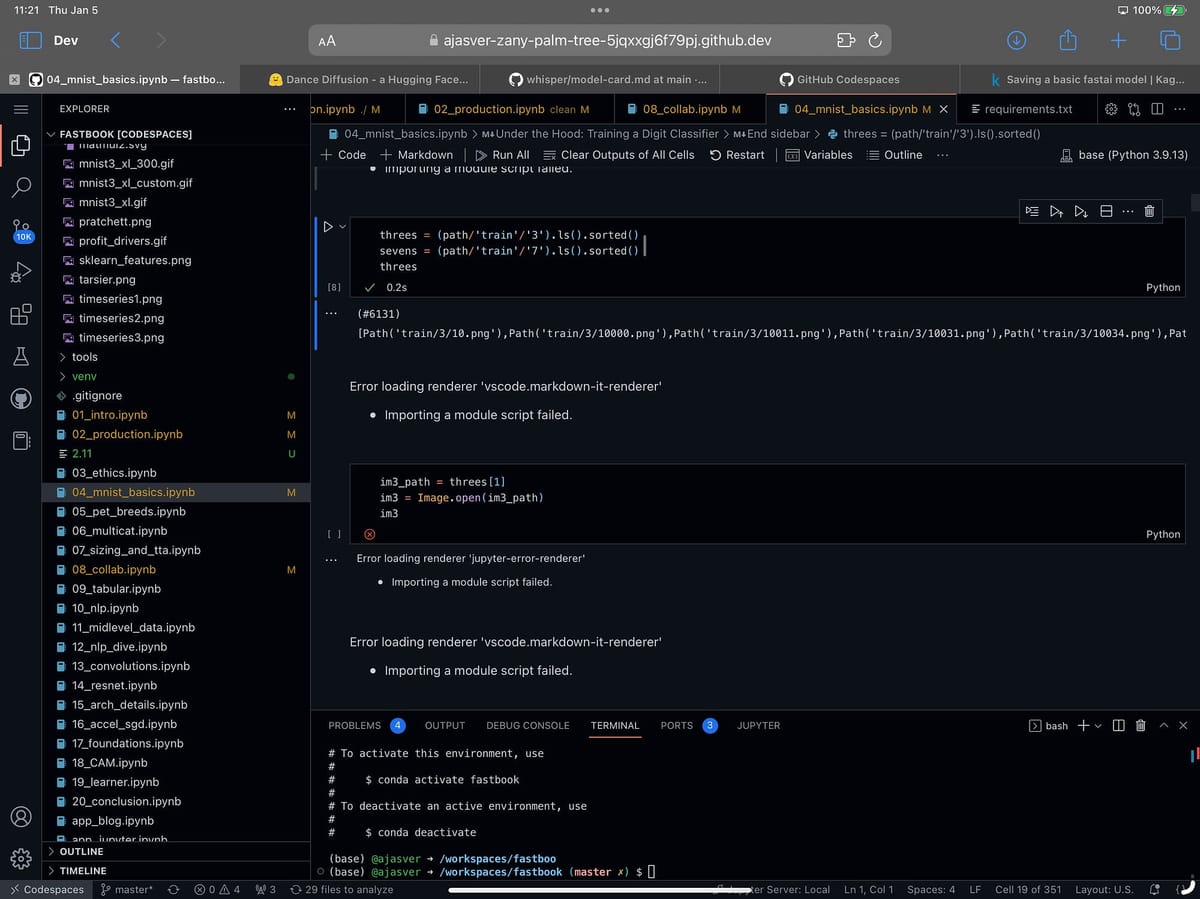
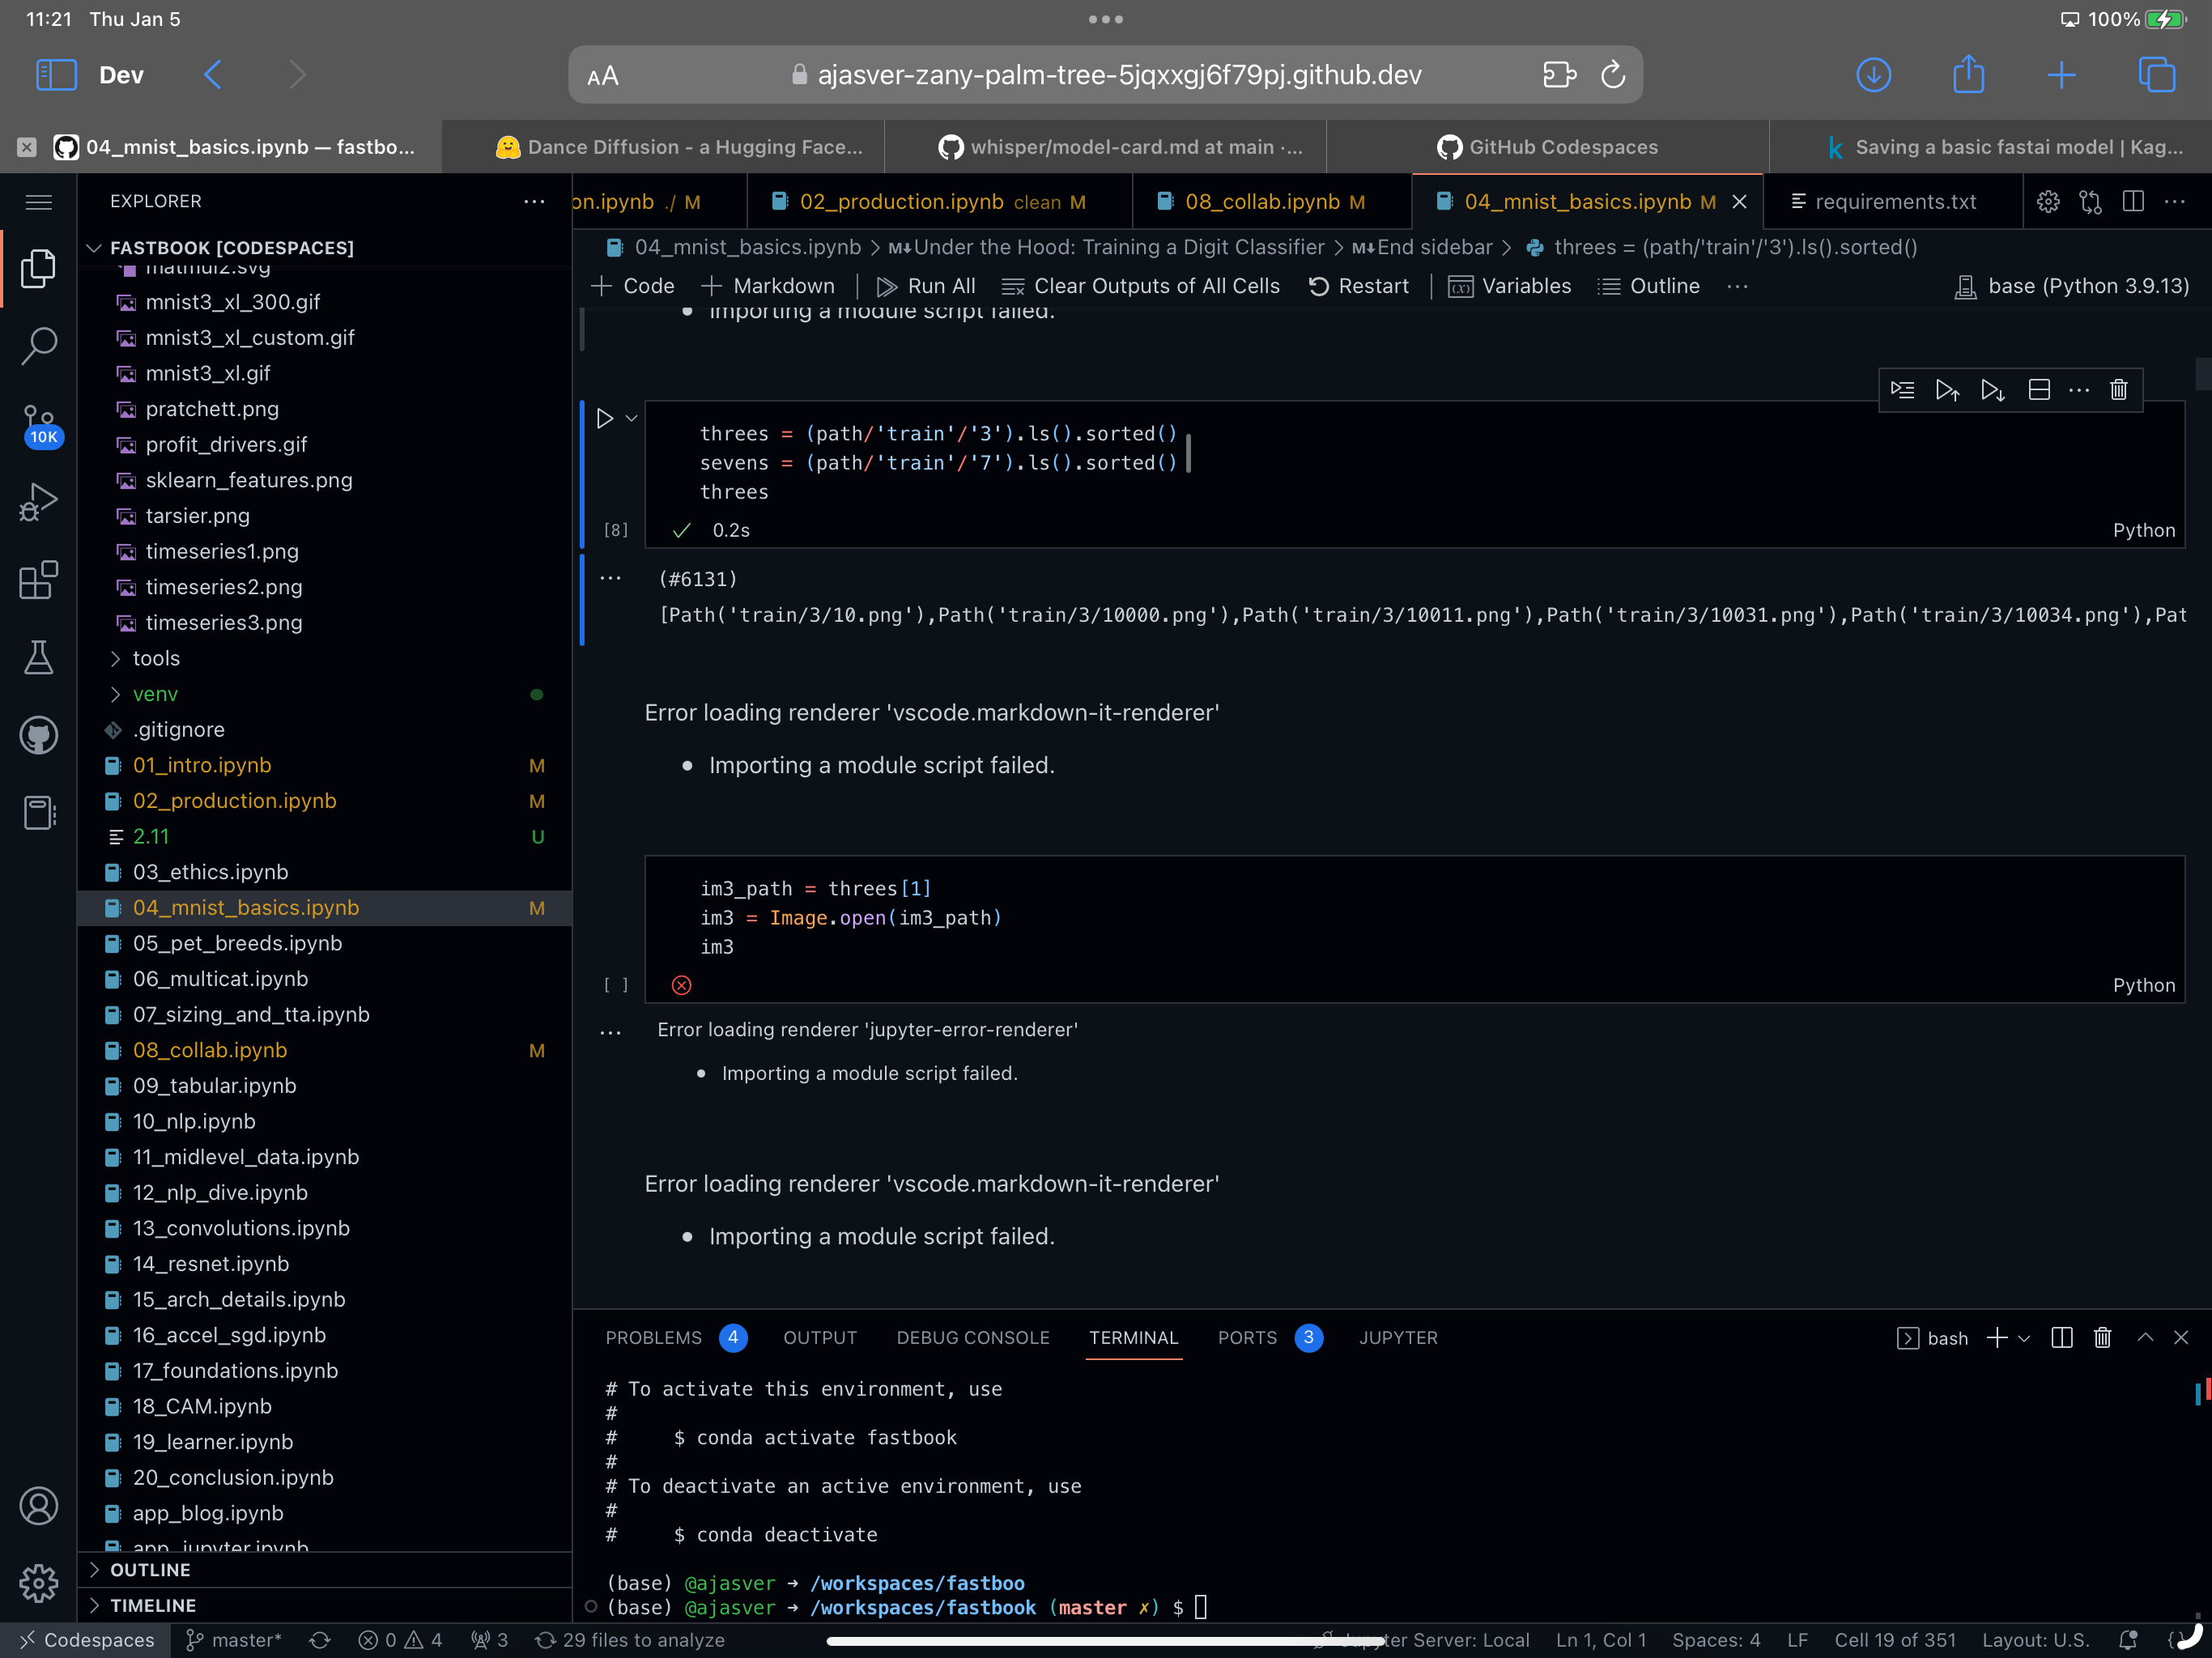
You should now be able to open the first notebook in the course and start playing with it!
Email or DM on Twitter me if you need help with this!
Python and Jupyter Notebooks
If you’re new to AI you are probably wondering why everything is written in Python and what a Notebook even is. Python is a popular programming language for AI because it has a large and active community of developers, as well as a wealth of libraries and frameworks that make it easy to build and deploy AI applications.
Some of the key reasons why Python is used for AI include:
Ease of use: Python has a simple and readable syntax, which makes it easy to learn and use for beginners. One of the first languages I learned was Python and I found it to be really easy to pick-up.
Large ecosystem of libraries and frameworks: Python has a large number of libraries and frameworks for AI, such as NumPy and SciPy for scientific computing, scikit-learn for machine learning, and TensorFlow and PyTorch7 for deep learning. These libraries make it easy to perform complex AI tasks with just a few lines of code.
Support for a variety of platforms: Python can be used on a wide range of platforms, including Windows, Linux, and MacOS. This makes it easy to develop and deploy AI applications on any platform.
Strong performance: Python has a number of features that make it well-suited for AI tasks, such as dynamic typing, automatic memory management, and a Just-In-Time (JIT) compiler. These features help to make Python programs fast and efficient.
Overall, Python's combination of ease of use, large ecosystem of libraries and frameworks, and strong performance make it a popular choice for AI development. Many of the models you are going to come across are going to be written in Python in a Jupyter Notebook because it makes it really easy to interactively experiment with models, as well as annotate and narrate how the models work all in once place. The best way to familiarizing yourself with Python and Jupyter is just to dive right into the fastai course notebooks and try them out for yourself!
Additional helpful resources
Besides Fastai, here are some additional resources I found helpful when getting started:
Following this list of AI folks on Twitter as well as others I come across.
Joining Discords for projects I was curious about. For example, I am really interested in Music + Generative AI so I joined the HarmonyAI Discord channel.
Watching lots of Youtube videos about ML and AI like this one
Asking ChatGPT questions whenever I get stuck - this has been surprisingly helpful!
Reading AI newsletters like these ones:
AI Supremacy - Commentary on AI related technology and business
Last Week in AI - Weekly digest of AI news with a great 2022 roundup.
The Gradient - In depth articles research and trends in AI
Ben's Bites - Daily bite-sized AI updates and links.
That’s a wrap. Let me know if you end up trying fastai and don’t forget to subscribe!
An AI notebook is a type of interactive computational environment that is commonly used for developing and testing AI models. AI notebooks typically provide a web-based interface that allows developers to write and execute code, visualize data, and document their work using markdown or other formatting languages. ↩
Kaggle is a website and cloud-based workbench for developing and running data science and machine learning models. It is owned by Google and is widely used by data scientists and machine learning practitioners for a variety of tasks, including data analysis, machine learning model development and training, and data visualization.
One of the main features of Kaggle is its public cloud-based Jupyter notebooks, which allow users to write and run code in a variety of programming languages, including Python and R. Kaggle also offers access to a wide range of public datasets and a cloud-based workbench environment that includes tools for data cleaning, transformation, and visualization. ↩
Google Colab (short for "Colaboratory") is a free online service offered by Google that allows users to run and execute code in a Jupyter notebook-style environment. It is designed to be used for collaborative development of machine learning models, and offers a number of features that make it easier to work with machine learning libraries such as TensorFlow. ↩
An Integrated Development Environment (IDE) is a software application that provides a comprehensive set of tools for software development. IDEs typically include a code editor, a compiler or interpreter, and a debugger, as well as other tools such as a version control system and a project manager. VSCode is a very popular example of an IDE. ↩
GitHub Codespaces is a cloud-based development environment that allows developers to write, run, and debug code directly from their web browser. It is built on top of Visual Studio Code, a popular code editor, and includes a variety of tools and features to help developers work more efficiently. ↩
GPUs (Graphics Processing Units) are specialized hardware devices that are designed to perform fast and efficient parallel computations. They are particularly well-suited for tasks that involve processing large amounts of data, such as those commonly encountered in machine learning (ML).
ML models often involve performing a large number of complex mathematical operations on large datasets, which can be time-consuming on a traditional CPU (Central Processing Unit). GPUs are able to perform these computations much faster because they are designed to perform many calculations in parallel. This makes them an attractive option for speeding up the training and inference of ML models.
They also have higher memory bandwidth, are more energy efficient and have specialized hardware for ML tasks. ↩
PyTorch is now becoming the more popular ML library over Tensorflow which was created by Google and the predominant library until recently. Both of these Libraries make common operations used in ML like matrix multiplication much faster by taking advantage of hardware acceleration like that provided by GPUs. ↩